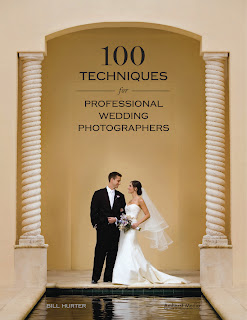
 Today's post is an excerpt from the book 100 Techniques for Professional Wedding Photographers, by Bill Hurter. It is available from Amazon.com and other fine retailers.
Tip # 30. Photographing Larger Groups
As people gather for large group portraits, have them put their drinks down before they enter the staging area, then arrange the group so that the bride and groom are the center of interest and everyone else’s face can be seen (tell everyone that they need to be able to see you with both eyes to be seen in the photo). Look for a high vantage point, such as a balcony or second-story window, from which you can make the portrait. You can also use your trusty stepladder, but be sure someone holds it steady—particularly if you’re at the very top. Use a wide-angle lens and focus about a third of the way into the group, using a moderate taking aperture to keep everyone sharply focused. Another trick is to have the last row in a group lean in while having the first row lean back, thus creating a shallower subject plane, making it easier to hold the focus across the entire group.
This is the “bouquet of flowers” treatment for groups. Shooting from directly above to capitalize on the symmetry of the composition, Dan Doke created a beautiful portrait of the bride and her maids. Using an 85mm lens, the perspective is good and normal. With a wide-angle lens, faces this close to the frame edges would have been distorted.
Tip #31. Speeding Up Your Group Portraits
The best man and ushers can usually be persuaded to help organize large group photos. Be sure to have everyone make it sound like fun—it should be. One solution is to make your formal groups at the church door as the couple and bridal party emerge. Everyone in the wedding party is present and the parents are nearby. If you don’t have a lot of time to make these groups, this is a great way to get them all at once—in under five minutes.
Tip #32. Control the Focus Field
Adjust the Camera Angle. With large groups, raising the camera height and angling the camera downward keeps the film plane more parallel to the plane of the group’s faces. Doing this does not change the depth of field, but it optimizes the plane of focus to accommodate the depth of the group. This makes it possible to get both the front and back rows in focus.
Adjust the Subject Distance. If your subjects are in a straight line, those at the ends of the group will be proportionately farther away from the lens than those in the middle of the lineup (unless you are working at a great distance from the subjects). As a result, those farthest from the lens will be difficult to keep in focus. The solution is to bend the group, having the middle of the group step back and the ends of the group step forward so that all of the people are at the same relative distance to the camera. To the camera, the group will still look like a straight line, but by distorting the plane of sharpness you will be able to accommodate the entire group.
Ben Chen used a beautiful spiral staircase as the framework for this formal wedding portrait. He lit the scene with his on-camera 580EX strobe bounced into the ceiling. Notice how each person in the group looks great—even the little ones.
This is a fun group shot of a huge wedding party done by JB Sallee. Titled Jump, Damn It!, this is a straight-line composition. The group has a good dynamic created by the fact that over half of the group could not take directions very well. The up-and-down head heights produces its own kind of dynamic line that seems to work in this composition.


